Every extension agent and agronomist encourages producers to get a soil test done. The traditional analyses are based on soil chemistry and soil physics, and the results can help producers determine if they have nutrient limitations and how much fertilizer they should apply. However, the more we learn about soil, the clearer it becomes that it is the biology living underground that controls the system, including nutrient cycling, water infiltration, water holding, erosion resistance, habitat building, carbon storage, and pest and disease suppression.
Soil health is the continued capacity of the soil to function as a vital living ecosystem that sustains life. The principles of managing for soil health are: increasing living roots, keeping soil covered, increasing diversity, minimizing disturbance, and integrating livestock.
Soil health assessments aim to measure the dynamic changes in soil characteristics that are influenced by our use of the land. When used as a tool they can help you understand if the management changes you have made are moving you toward the regeneration of a healthier system or toward degradation.
 For those ready to send in a sample for a soil health analysis, click here to download our soil lab resource guide to get the tests you need.
If you want more information on soil sampling and information, keep reading.
If there are terms or words your unfamiliar with, check out our Agricultural Terminology page.
What Soil Health Indicators Should I Use?
The first question to ask yourself before taking a sample is what kind of information you want to get and how you will use that information.
If the only thing you are looking for is a recommendation on fertilization rate, I recommend going to your local extension publication that is specific to your region and your crop and carefully following the protocol outlined there. Researchers have been working for decades to create fertilizer indices based off specific field protocols, laboratory techniques, and have calibrated the results of soil nutrient tests to the optimal fertilizer rates. A local soils laboratory will likely run the suite of tests relevant to your area, but it is always good to ask the lab what methods they use and make sure they align with the publications you are using as a reference. Using these 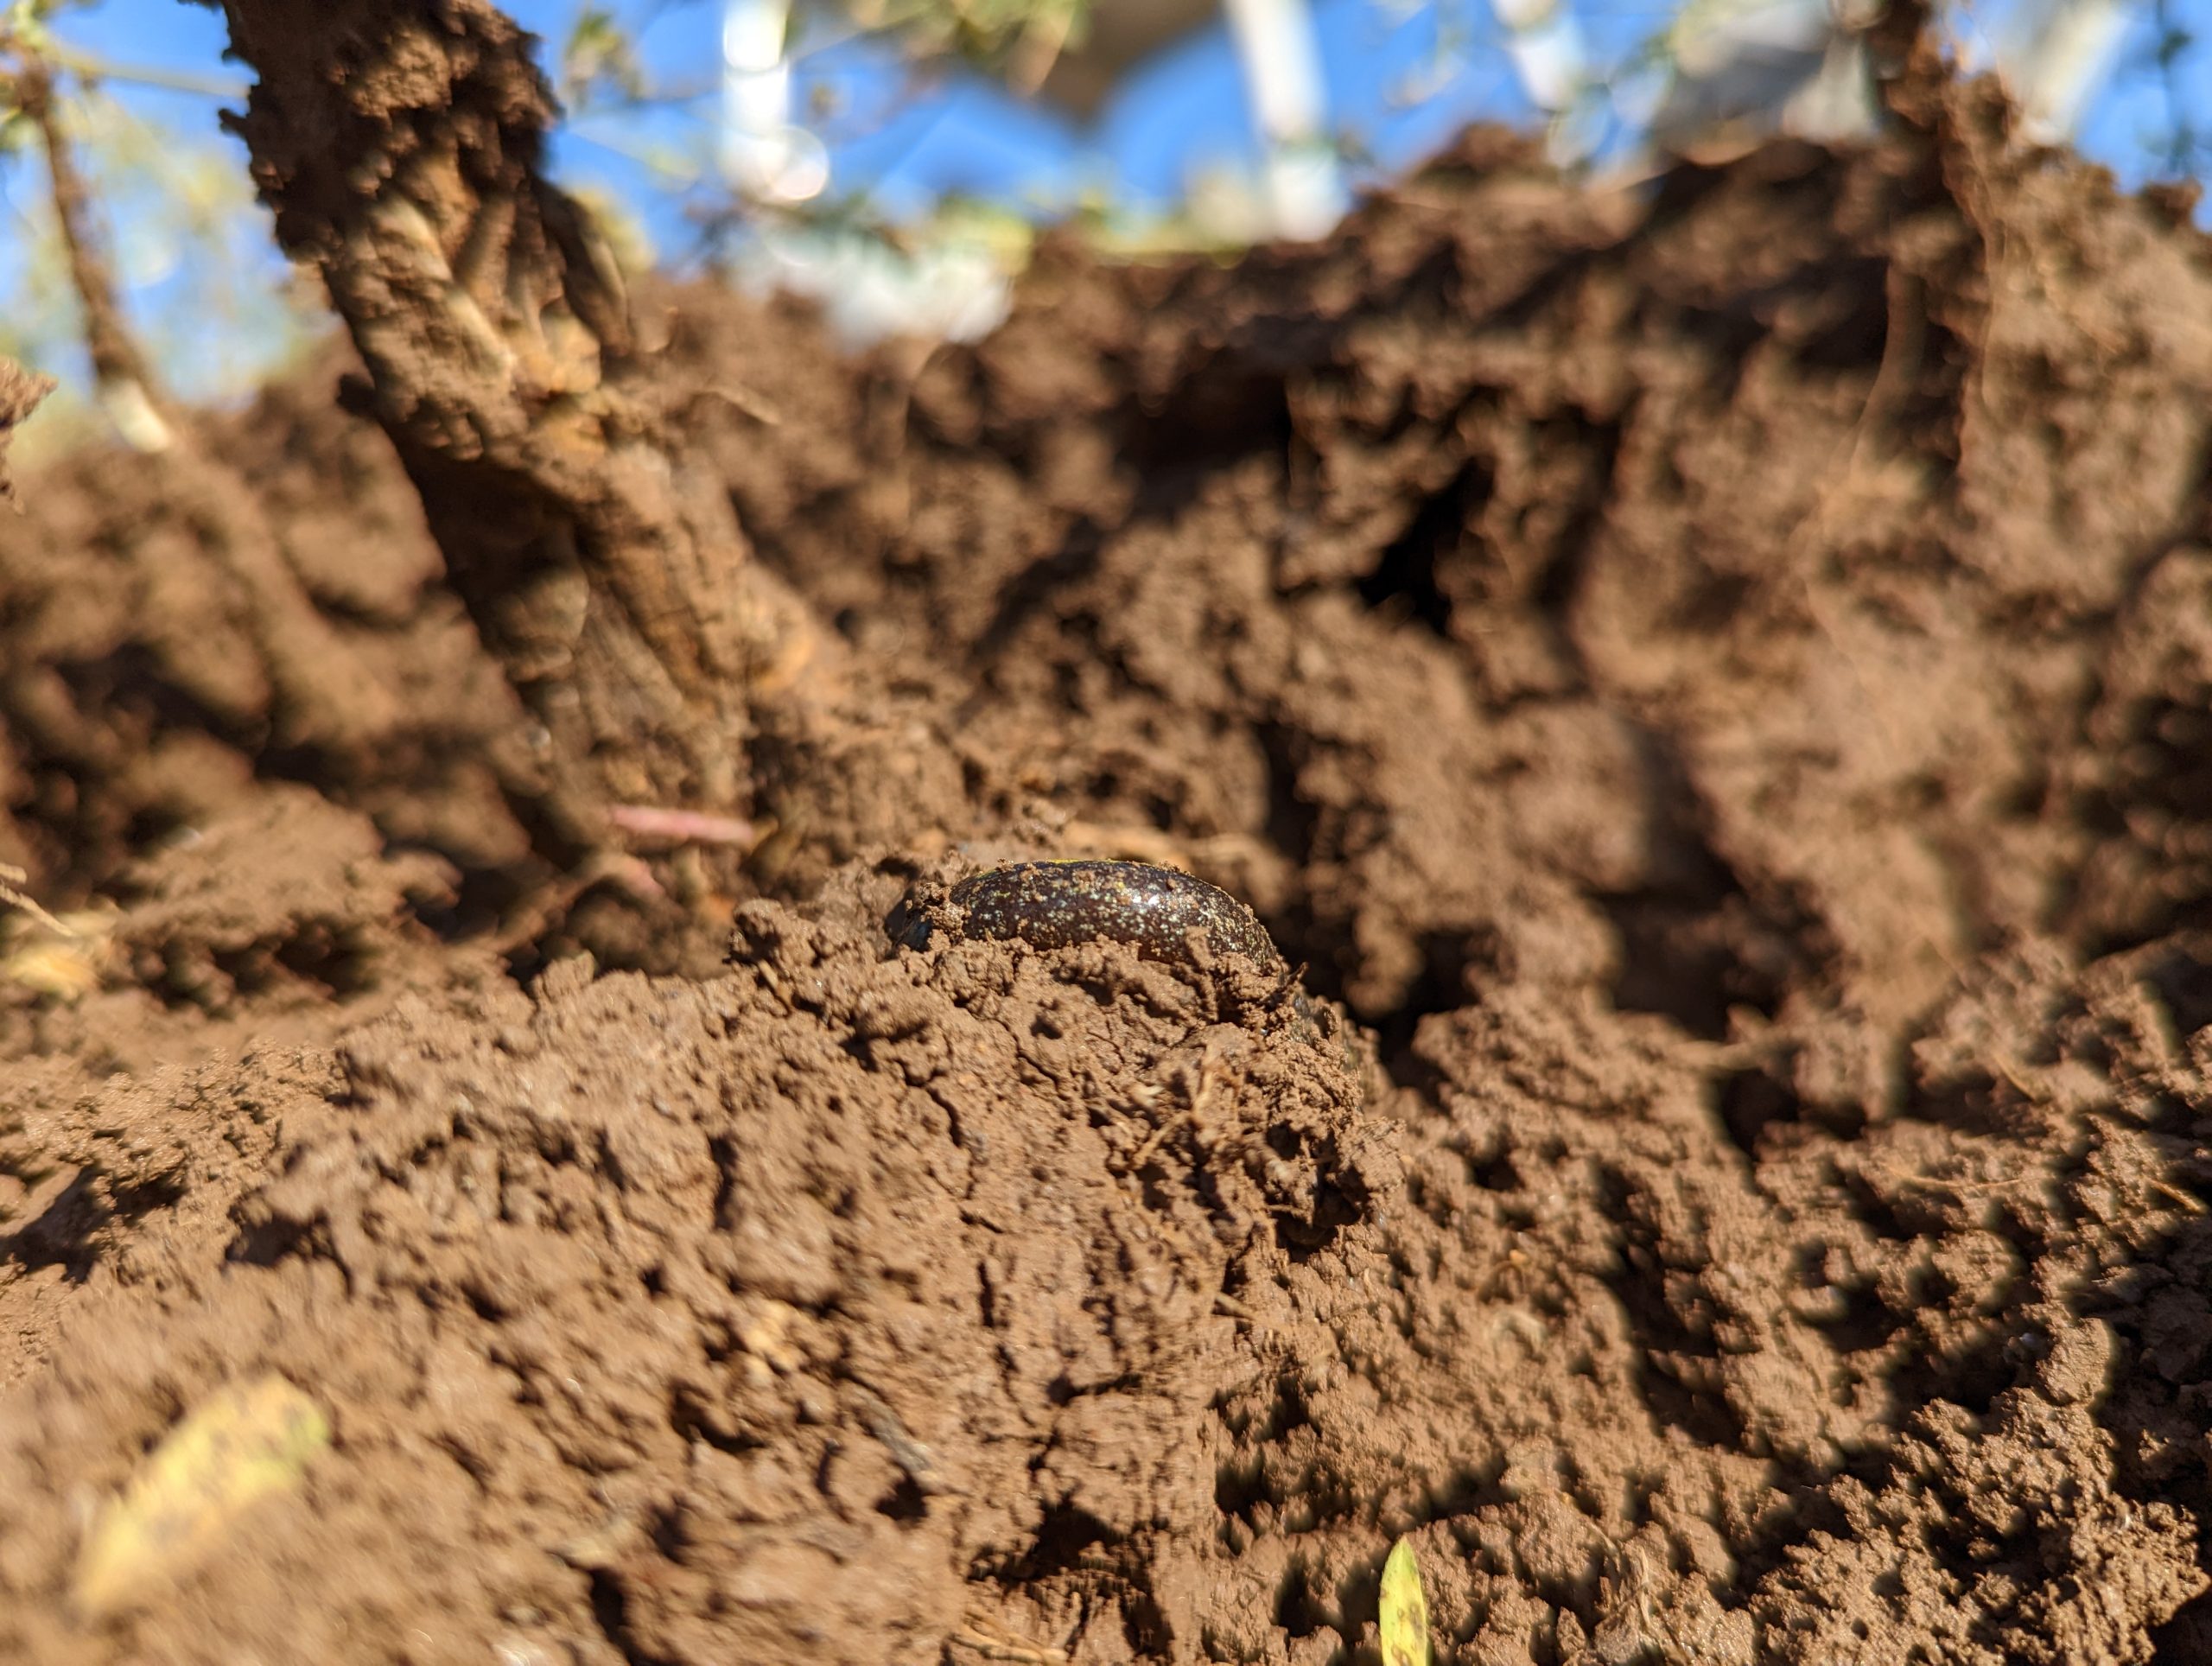 guidelines saves money by minimizing the yield risk of under fertilizing and the expense of overfertilizing. However, many people who have started down the soil health journey find that traditional soil fertilizer test results overestimate the amount of fertilizer needed and they more accurately predict soils contribution to nitrogen mineralization when including soil respiration in the recommendation.
If you are on a journey to understand more about how your soil is functioning and what you might be able to do to enhance the soils’ ability to do the work for you, I recommend soil health assessments. These tests are meant to evaluate how the biology is influencing the chemical and physical characteristics of your soil and its ability to function. There are many different soil health assessments that are available and again you want to think about what you can interpret. Comparative analysis has been a staple of soil health assessments, try to assess one field relative to another. Maybe this is two neighboring fields with different management, or neighboring fields with different soil, or the same field over time. To put your soil health assessments in context with what others around the country are talking about, we need to make sure we are accounting for differences in soil type.
Soils are highly variable because they develop in place, over time, due to the climate, organisms, landscape position and the types of minerals they are derived from. This variation does not mean one soil is good or bad, but they will have different advantages and challenges. A soil in a hot dry desert does not have the same capacity to store carbon as a soil in a cold wet prairie, and so it is important to understand your soils inherent characteristics so that you can set realistic expectations for your production and soil health goals.
 Inherent characteristics are those that are not going to change with management. The most fundamental here is texture, the relative percent of sand, silt, and clay. Think of this as the size/shape of the raw materials used as the building blocks for your system. Mineral composition, particularly the type of clay has an influence on how particles stick together, the concentration and exchange of nutrients, and how the soil will physically shrink and swell with water. Soil pH is all about the concentration of hydrogen ions in the soil environment. This is the direct chemical environment of every chemical and biological reaction and can be considered a master control for nutrient availability and a significant driver of the soil microbial community composition. While pH can absolutely be increased with the addition of lime and decreased by synthetic nitrogen applications, each soil has a natural pH and should be considered in the interpretation of a soil health test. At a minimum it is useful to know your soil’s texture, pH, and local climate conditions for soil health test interpretation and to compare your soil to others that are similar in those regards.
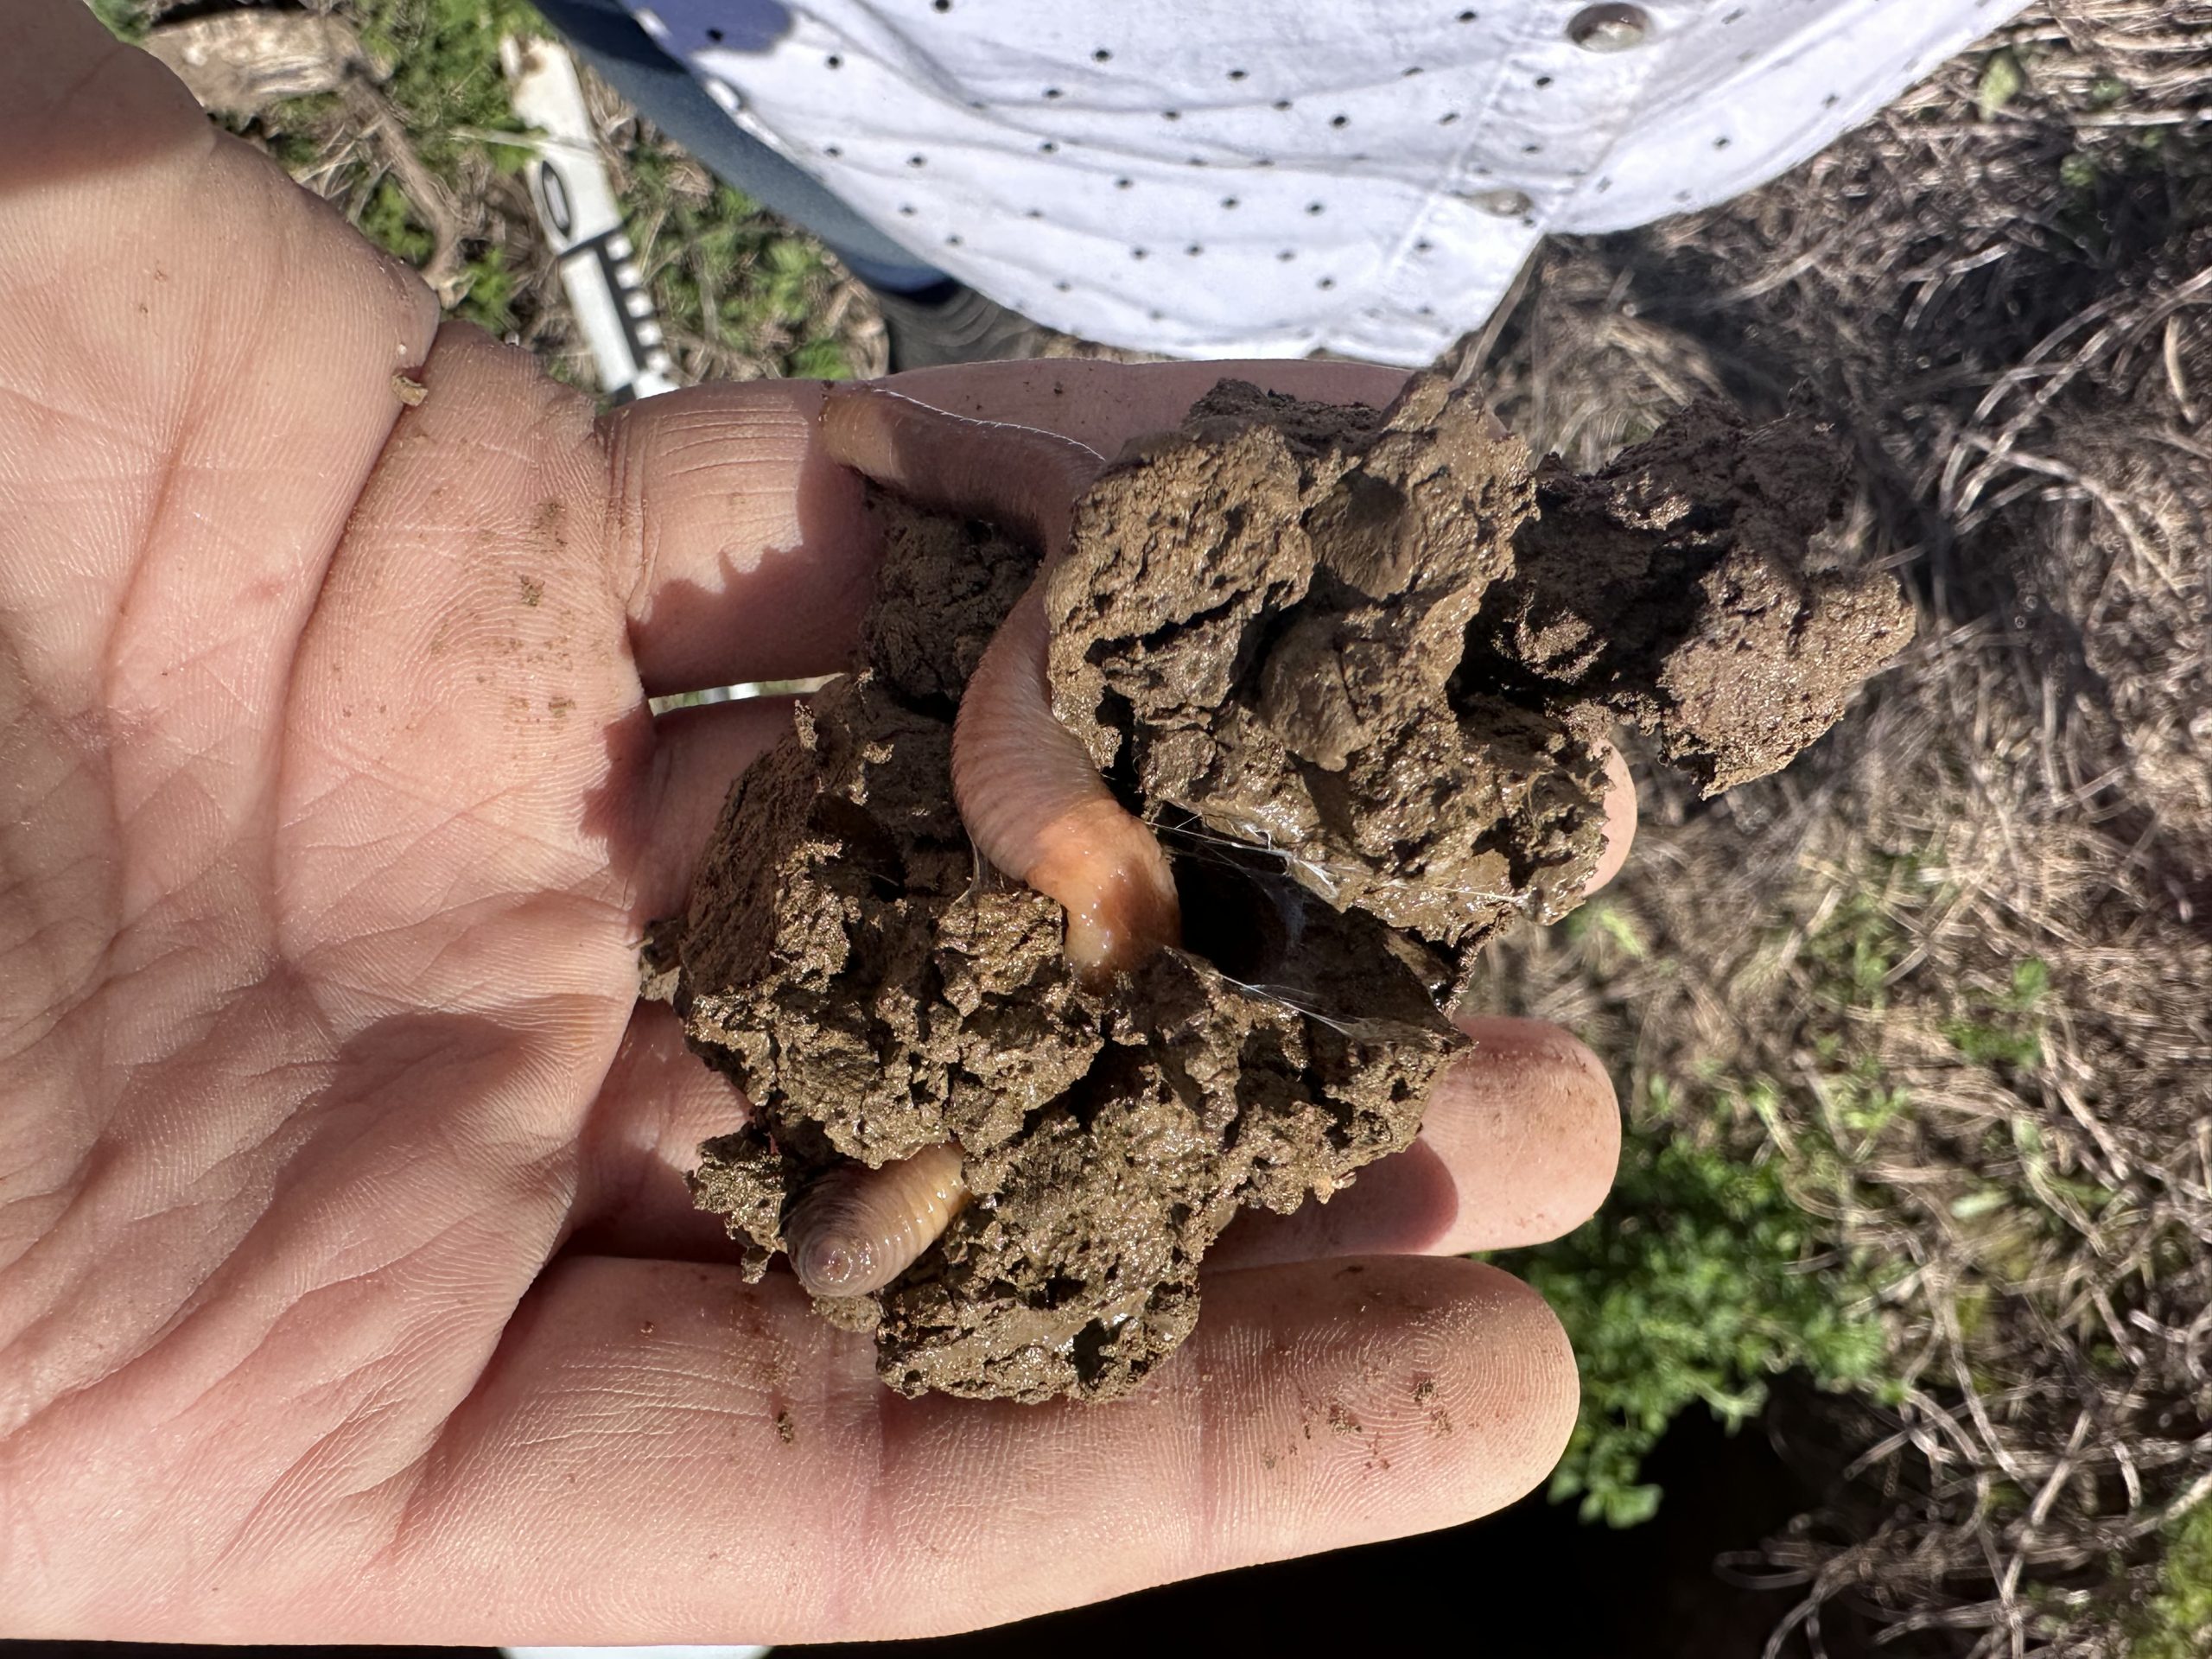
Most people who have heard anything about soil health testing think of CARBON. All living organisms are made of and need carbon. We now know that most of the actions, the work, the functions in the soil are carried out by living organisms. Most soil organisms are heterotrophic, which means they need to eat carbon compounds. Without this carbon they do not have building materials to make new cells or the energy for carrying out all processes/functions/ecosystem services that happen in the soil. The reason soil scientists care about carbon sequestration goes well beyond climate change, it is important to get carbon back in the soil so the soil can function, thereby allowing producers to reduced inputs and increase profits. If there is one new test to add to your soil testing regime, add soil organic carbon. Dry combustion is the most accurate method, but almost all labs soil labs can measure organic matter (OM) by loss on ignition which tells you the same thing. About 50% of organic matter in the soil is carbon and so you can convert all results to OM if that is more familiar to you.
Once you have an idea of how much carbon you have it is important to know whether the organisms are using it. Heterotrophic microbes breathe out CO2 as a result of their metabolism, just like animals. To get an indication of microbial activity we can use a laboratory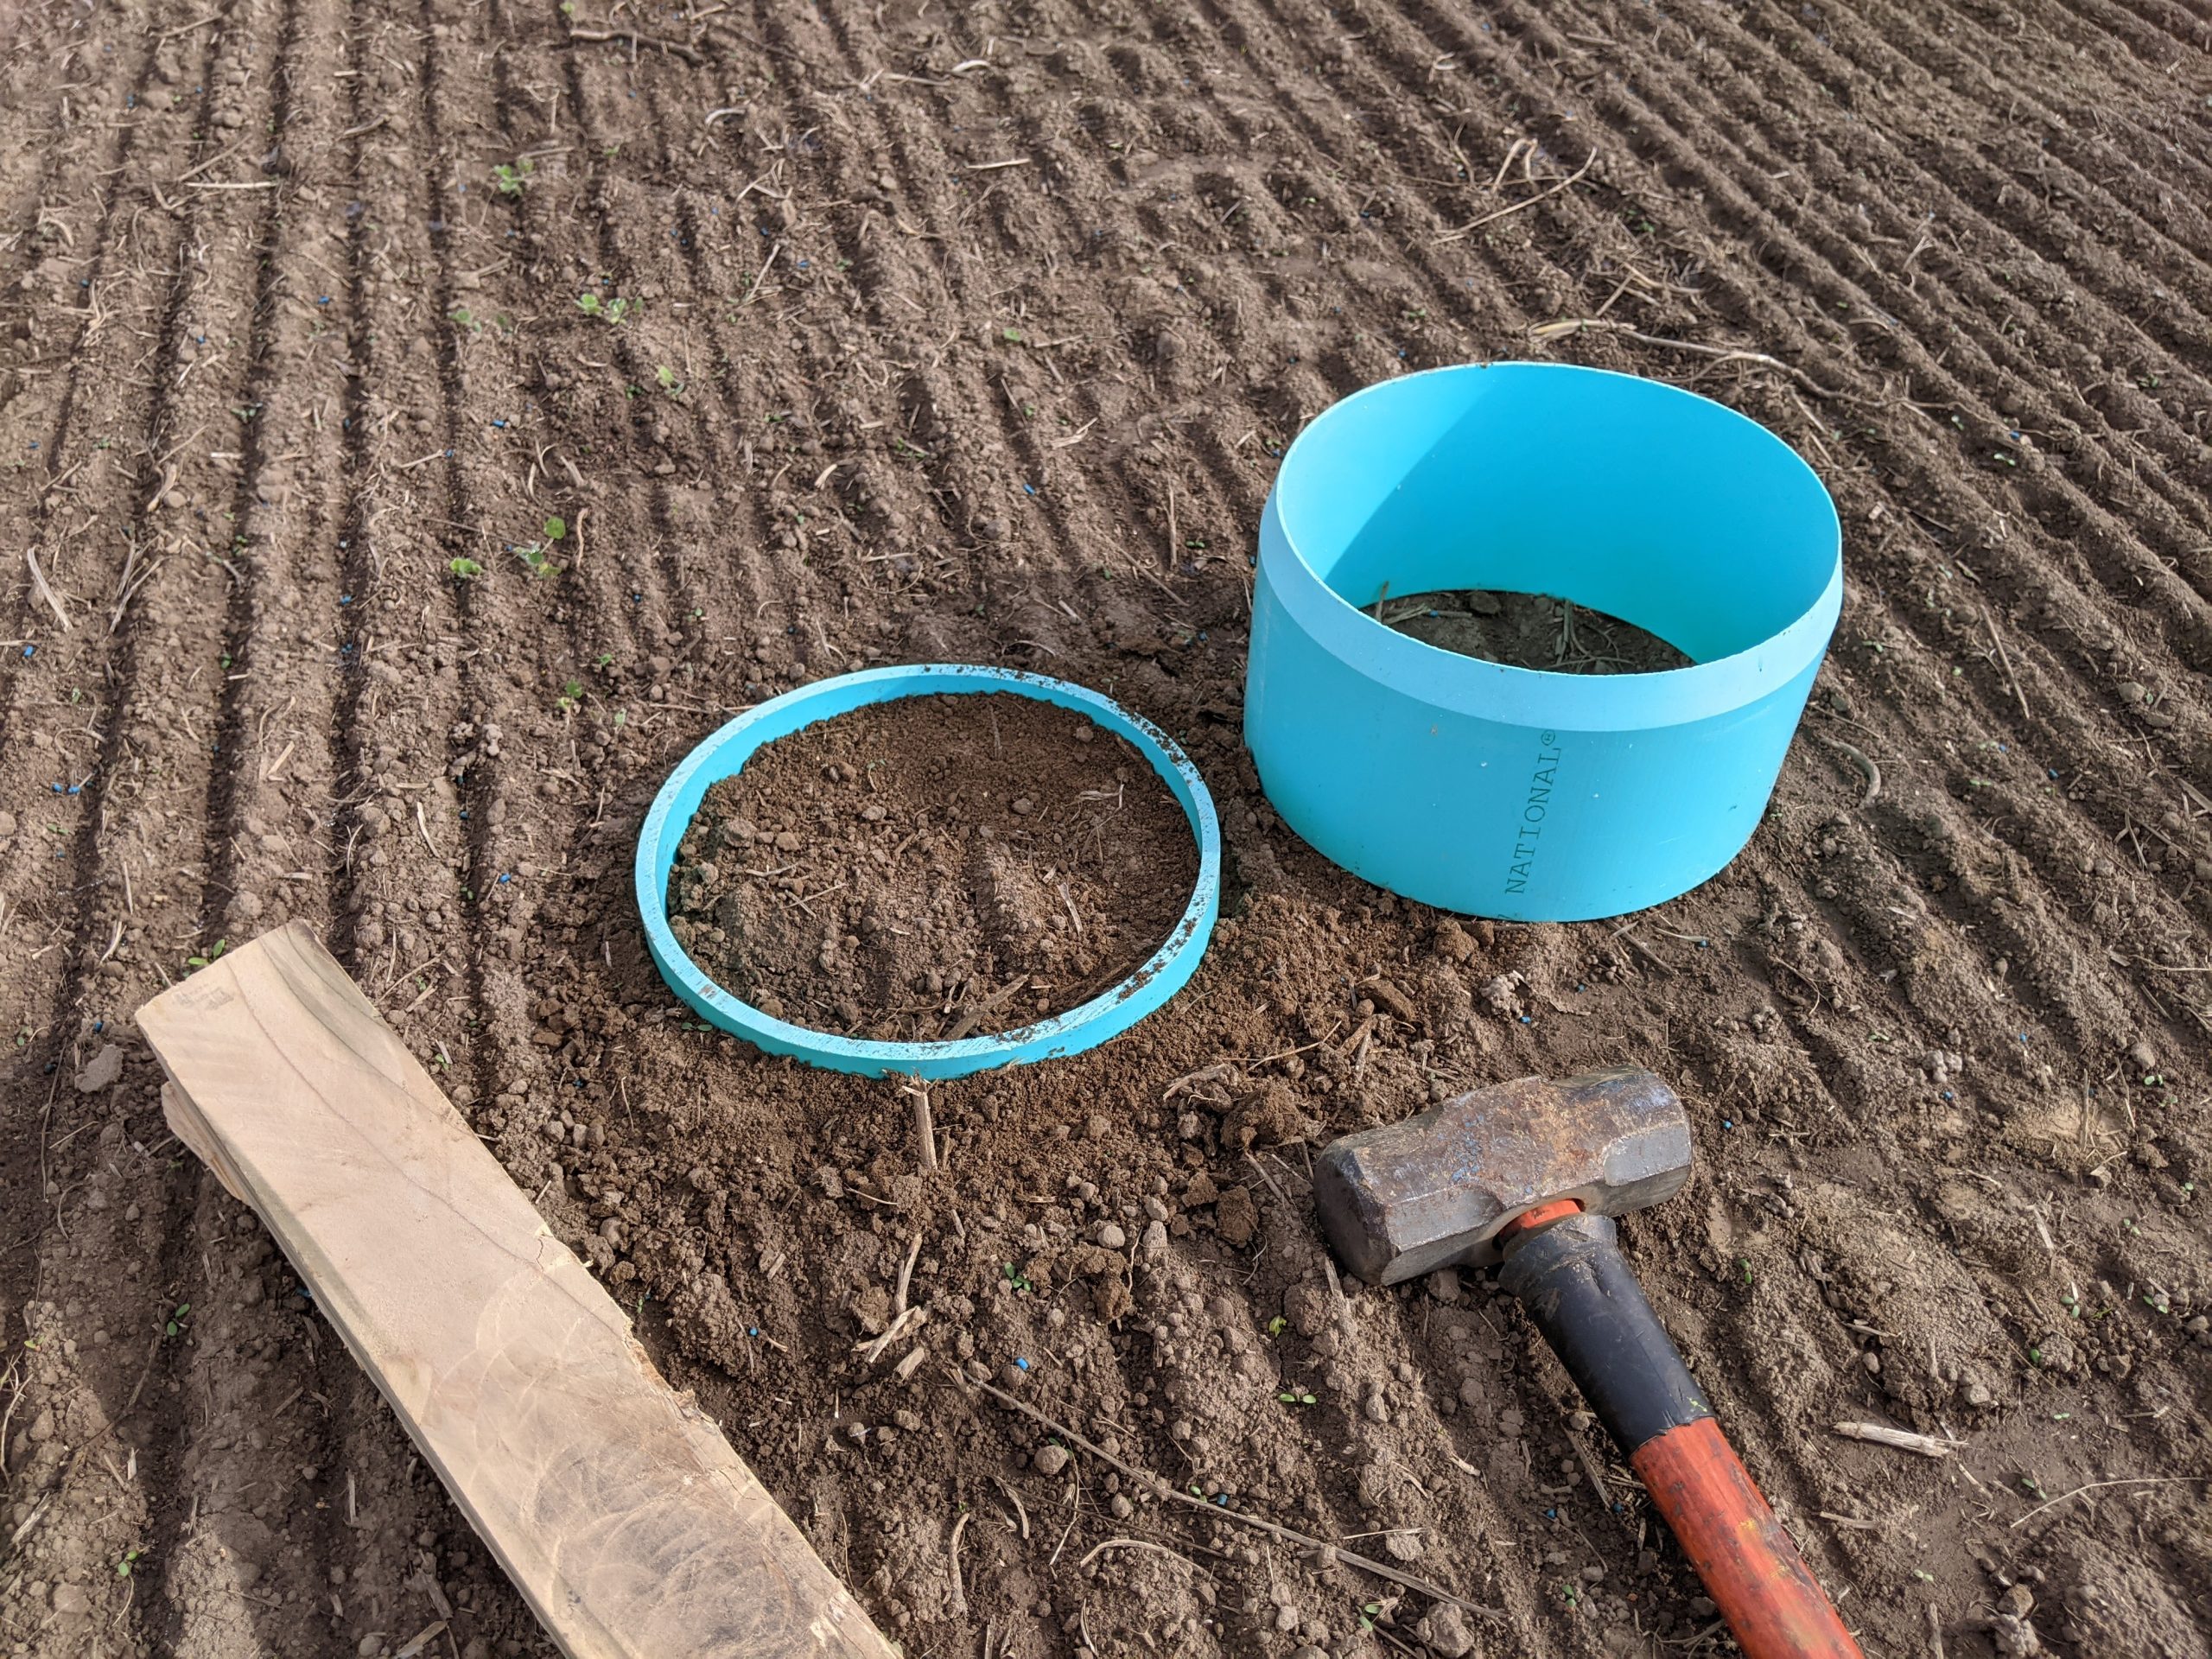 incubation called a CO2 burst test (also called carbon mineralization or respiration). Not all the carbon coming from this test is a direct result of immediate microbial activity, but it is highly indicative of the activity level and microbial biomass in the soil. There is a lot of talk about carbon sequestration in the coffee shops right now and so I often am asked why a high CO2 respiration rate would be a good thing. To use or to store, that is the question. Like most things in agriculture, it is not so simple. The reason we want to add carbon to the system is so that the organisms can use it to get back to healthy functioning. A highly active soil can emit more carbon than a low activity soil. However, as they use the carbon, they are also gluing particles together and opening up pore spaces and cycling nutrients. As they do this, some carbon gets stuck in the system. We can think of the soil like a bioreactor with carbon constantly transforming and moving in and out. The goal is to add more carbon to the system than is lost, this regenerates the carbon and the health of the system. One simple test that is most indicative of the size and activity of the microbial community is a CO2 burst test. Also called carbon mineralization or respiration, this test is highly responsive to management and gives an early indication that your soil organisms are back at work.
Soil organic carbon measures the total feed potentially available to the microbes, CO2 burst indicates if the microbes are using it, and aggregate stability indicates what they are doing with that carbon. Aggregates are conglomerations of sand, silt, and clay sized particles stuck together through chemical attraction and organic binding agents. These organic binding agents can be root hairs or mycorrhizal hyphae physically gathering soil particles or exudates gluing particles together. This creates void spaces we call pores that provide habitat, a place for water to move into and through and space for gasses to exchange. Aggregate stability is a measurement of the soils ability to resist breaking down into 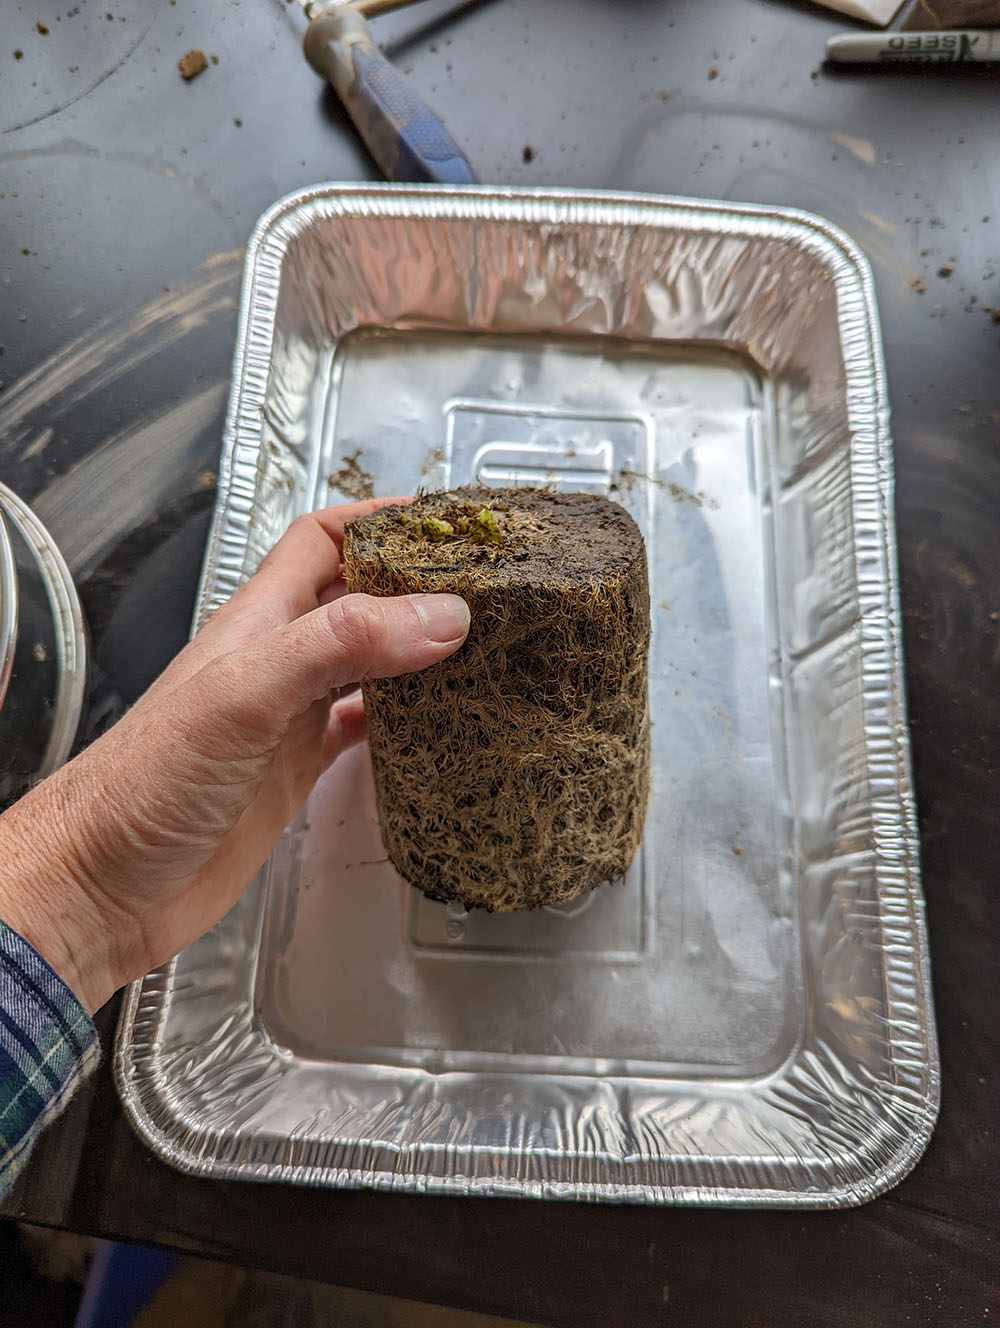 individual particles when exposed to some sort of water force, resulting in erosion. Highly stable aggregates are often found in soils with high organic carbon, lots of roots, and a lot of different kinds of biological organisms each doing their part to build their homes. There are many ways to test aggregate stability, and most of them take a considerable amount of time and space in a laboratory. Any of the methods that your local lab uses will be fine, however, results from one test to another are always variable, so if you want to compare over time or with a neighbor’s results, make sure the same method is used. Aggregate stability epitomizes the usefulness of a soil health test because it is a physical measurement, influenced by soil chemistry, and varies based on many levels of biological interactions. It is related to the soil functions of erosion resistance, water infiltration, water holding, greenhouse gas regulation, and habitat diversity and is highly recommended for any soil health assessment.
There are many other tests that have shown to be related to changes in soil management that we associate with soil health. The recommendations above align with the recently published work from the Soil Health Institute’s North American Project to Evaluate Soil Health Measurements (NAPESHM) which shows that this minimum suite of soil health measurements assessed with a few inherent soil features demonstrated whether a soil was moving toward regeneration generally. There is a series of publications from the NAPESHM work that provides further details on each of the measurements in this table and the rational for the selection of the minimum suite of indicators.
When To Take a Soil Sample?
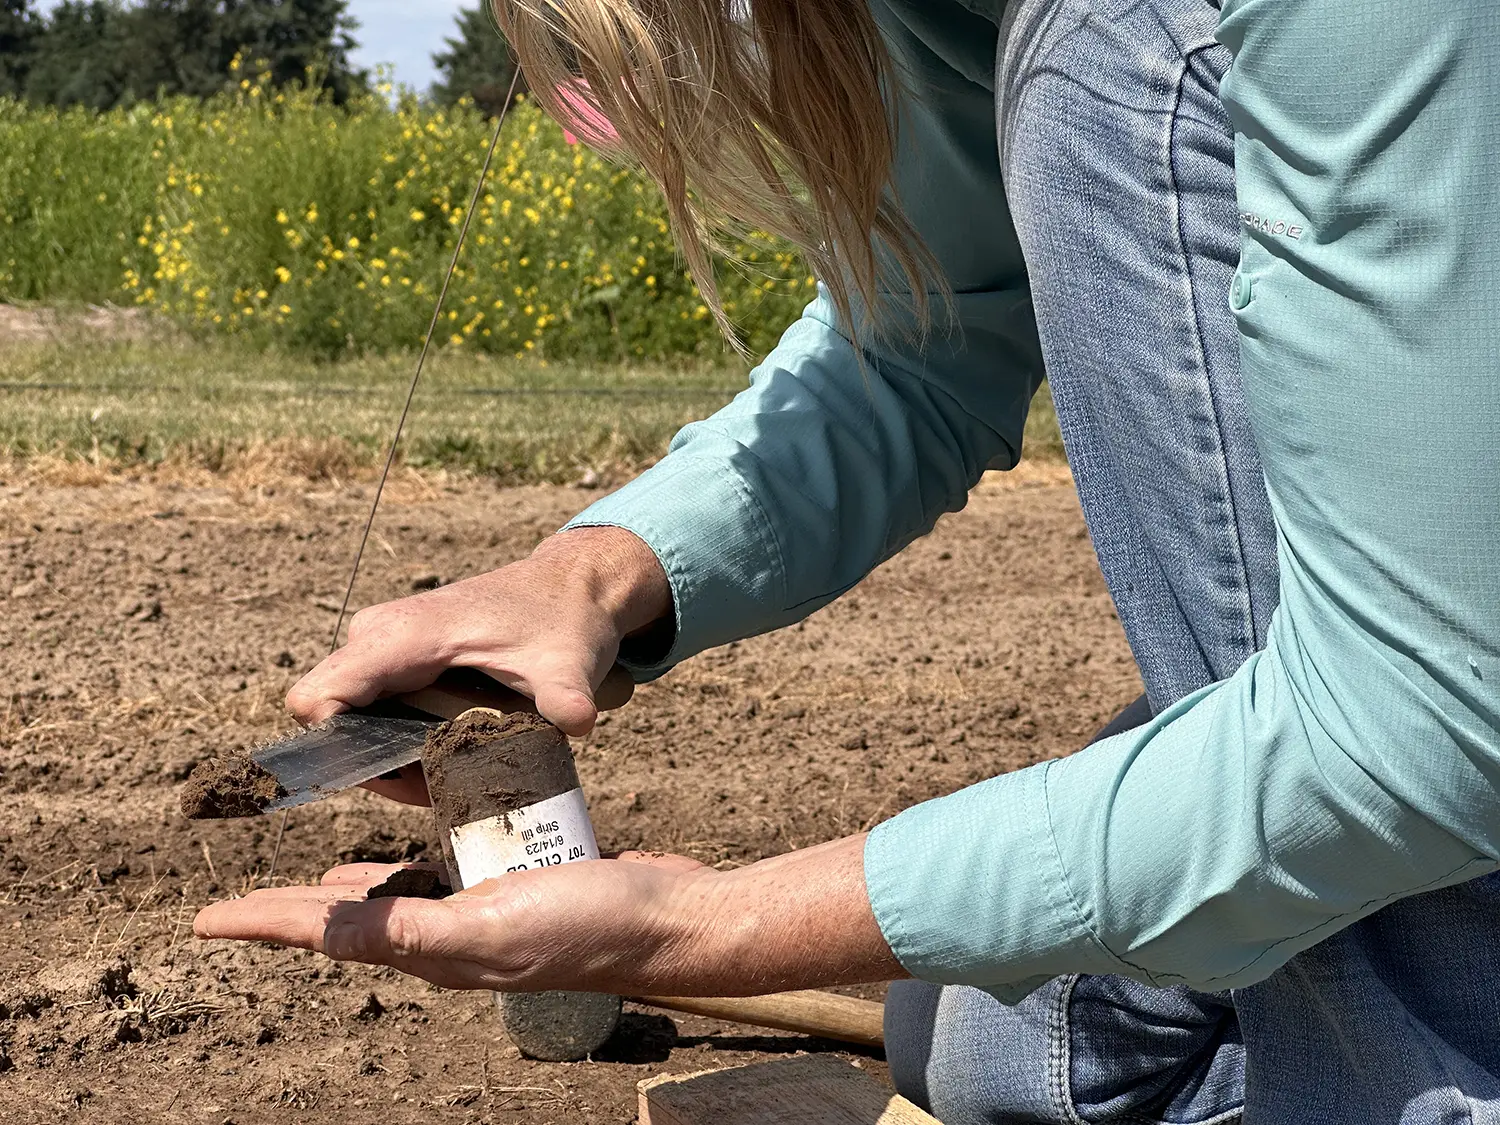
 Consistency is key. Since we are talking about a biologically controlled system, many of these test results are different when taken at different times of the year. This is because changes in soil temperature and moisture influence chemical and biological inputs and production. It is highly recommended to find a time of year that you are not bogged down with too many other tasks and try to sample consistently then. Rather than this being a specific day of the year, we find that it is best to have this relative to the cropping system, if you delayed planting one year because the soil was too wet to get in the field, you will also want to delay your sampling. For spring planted crops, I recommend trying to do sampling roughly one month after planting your cash crop. This provides several advantages. 1) many nitrogen recommendation programs are similarly timed and so you may take one sample for both systems. 2) You will be measuring the conditions of the soil when your crop is about to start a period of rapid nutrient uptake. 3) You will measure the legacy effects of any cover cropping you did in the off season rather than the presence or absence of the crop. 4) Pre-planting tillage will have mellowed out to some degree decreasing artificial differences in bulk density and soil structure. 5) It is easier than trying to take a sample pre-planting when you are trying to get your other timing and equipment prepared. If this recommendation is not possible for your production system, you can also take samples just before you make a change in management and then stick to sampling around that time of year.
Where To Take a Soil Sample?
There are two primary strategies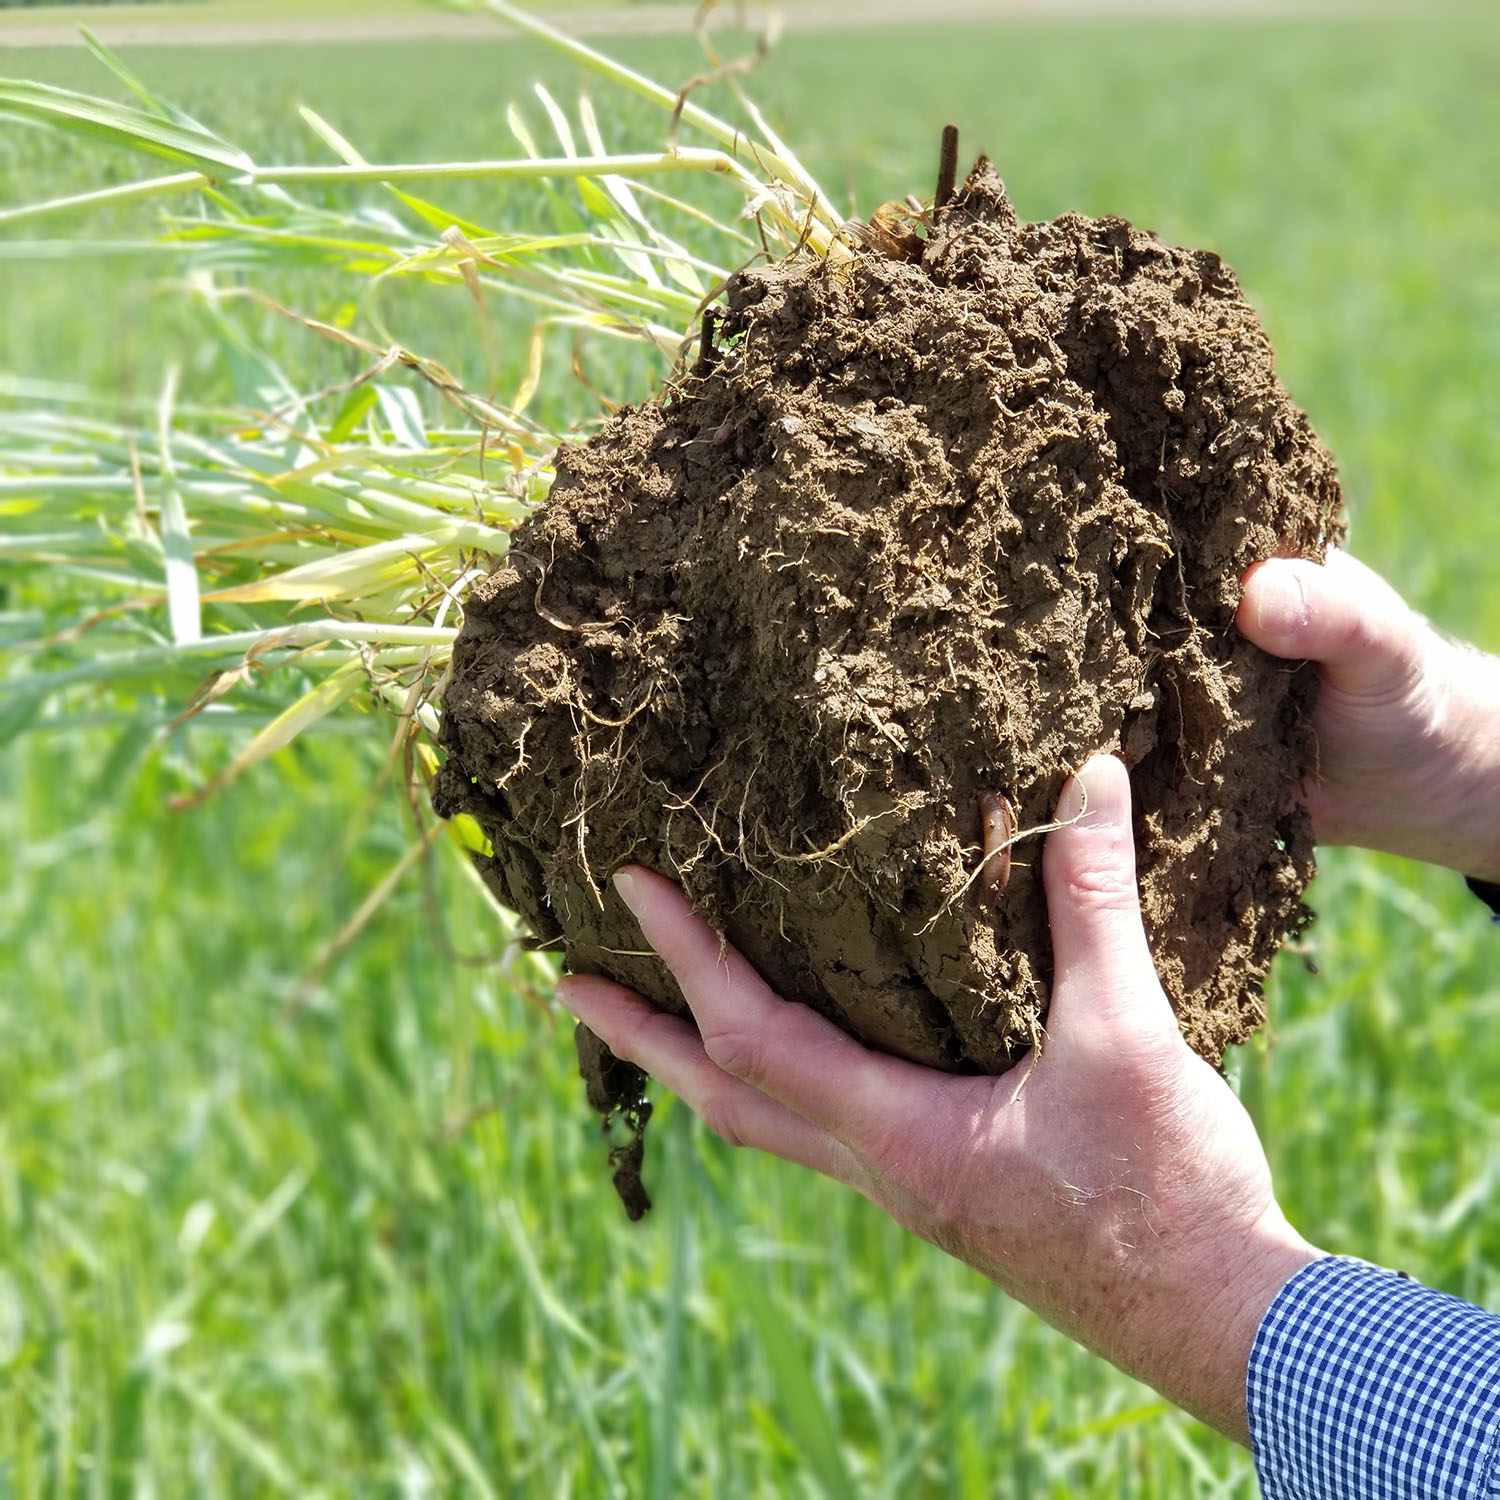 for deciding where to take a soil sample, either by management unit or by grid sampling. Grid sampling involves drawing straight lines to separate your field into regular repeating cells and taking a sample each area, often somewhere around one sample per acre. It is often used in precision agriculture and can give a high-resolution understanding of variability within your field. If you are planning to manage your field differently based on the results of the soil test, grid sampling to your specific management resolution will provide the clearest results. Separating the field by management units gives you an average. The idea is to separate land by both landscape position and management history. In one grazed pasture, the hilltop would be a separate management unit from the area on the hill slope, and if you also had crop land on that same hilltop it would be yet another sample. It is recommended to take 10-20 subsamples to be composited or mixed and then each sample should represent the average of the whole management unit. Regardless of the method that meets your management style, abnormal areas such as a small depression or cow pie, should be avoided for your general sampling. If you have a problem area that you want to try to do something different with, sample that separately considering that area as its own management unit.
How do I Interpret my Results?
Soil carbon, respiration, and aggregate stability are often considered to be in the “more is better” category, this just means high numerical values are good. Remember that a soil in Arizona should not be compared to a soil in Iowa. The climate and soil forming factors are different and so the capacity of the soil to perform each function and the soil health test results are going to be different too. To build your interpretation framework, I recommend taking “bookend samples” for each soil type that you will be working with on your farm. The goal of bookend 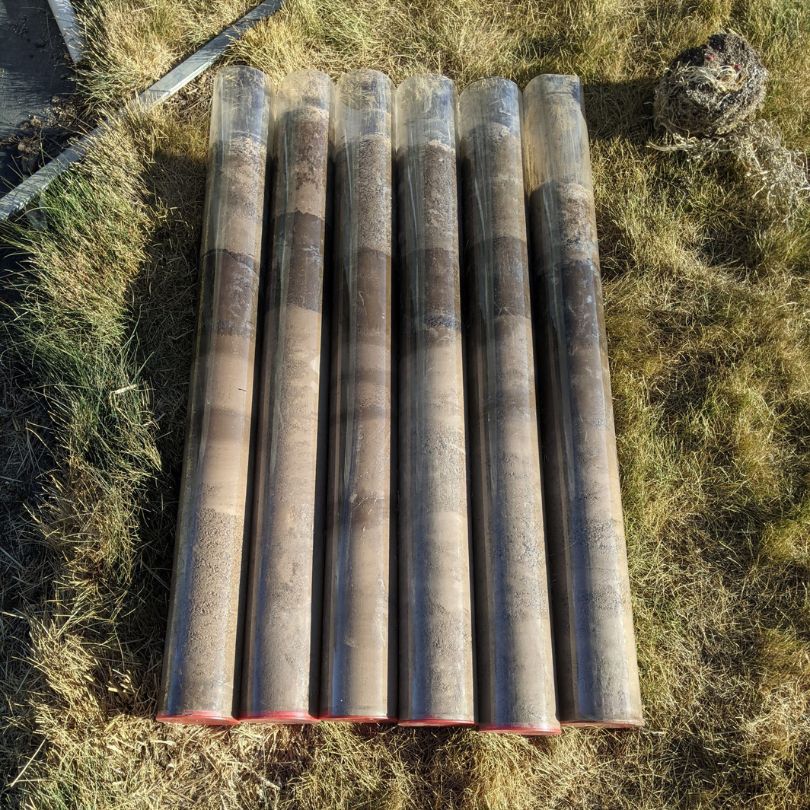 sampling is to find the lowest and highest values you can expect for a given soil. Find an area that the soil has been really beat up, never had any soil health practices, it will likely be paler in color, hard to get a shovel in, and you probably won’t find any organisms or roots present, this is your low bookend. Find another area that has grass or a mix of perennial plants covering the soil, it is likely darker, soft to the touch, smells rich, is teaming with life, and has had minimal disturbance, this is your high bookend. Send these two samples along with your farmed ground on that same soil type and then compare the results of your farmed ground relative to the test results from your two bookends. From this you can see how far you have come and have an idea of what your goal could be.
To find the soil type, or types, on your farm, I highly recommend https://casoilresource.lawr.ucdavis.edu/gmap/. Click on the box in the upper left corner and zoom to your location. Look at the map for your farm and discover the differences in soil type. If the difference in texture or pH is minor you might be able to compare samples from these two soils, but if there is a greater than 10% difference in sand or silt or more than a 5% difference in clay, consider these different soil types to build your soil health farm interpretation tool. One final note here, soil maps are estimates to a certain degree and many farmers know the boundaries and changes in soil more specifically than what can be mapped. Trust your personal experience and spend time getting to know your soil.
Good luck on your soil health journey. GO DIG!